
Key Takeaways
Repotting is less about following a calendar and more about noticing how a plant and its soil are doing. We can make the change gentler by choosing a suitable pot, keeping the plant at its original depth, and watching how it responds.
- Check for crowded roots, fast-drying soil, and changes in stability or growth.
- Choose a pot with drainage that is only modestly larger than the root ball.
- Use a potting mix suited to the plant and its moisture needs.
- Handle roots carefully and keep the plant at the same soil depth.
- Adjust watering to the plant and mix, then give it time to settle.
1. Know when a plant needs repotting
Repotting can give roots more room or replace tired, compacted mix, but it is not automatically needed every year. We can look for a few changes together rather than relying on one clue. The plant’s normal growth habits and the conditions in our home matter, too.
Check for roots growing through drainage holes
Roots emerging from the drainage holes can be a sign that the plant has filled much of its pot. A few visible roots alone do not always mean we need to repot immediately, especially for plants that tolerate close quarters. If the root mass is dense and the plant seems to dry out quickly or lift in its pot, the evidence is stronger. We can slide the plant out gently to see whether roots have crowded around the outside of the soil.
Look for soil that dries out unusually quickly
If a pot that used to hold moisture now dries out soon after watering, roots may have taken up much of the available space. Before deciding to repot, we should consider whether warmer weather, brighter light, or a change in our watering routine could explain it. Compare the soil’s drying pattern over several waterings rather than reacting to a single dry day. A crowded root ball is more likely when quick drying appears alongside visible roots or restricted growth.
Notice when growth slows or the plant becomes top-heavy
Slower growth can be a clue, but it is not proof that a plant needs a larger pot. Light, temperature, seasonal rest, and the plant’s natural pace can all affect new growth. A plant that repeatedly tips or feels unstable may also have outgrown the balance of its container, especially if the root ball fills it tightly. We should check the roots and review the plant’s conditions before choosing a new pot.
Tell normal root growth from a serious problem
Healthy roots are generally firm, while roots that are soft, dark, or unpleasant-smelling may be damaged. A crowded root system can be pale or tan and still be healthy; colour varies with the plant and growing mix. If we find mushy roots, persistent wet soil, or signs of pests, we should treat that as a separate problem rather than simply moving the plant into a larger pot. Removing damaged roots and correcting the cause may matter more than giving the plant extra space.
2. Choose the right pot and potting mix
A new container should suit the root ball, not just the visible size of the leaves. Too much unused soil can stay wet for longer than the roots can manage, while a tight pot may leave little room for growth. We should also consider how quickly the plant typically likes its mix to dry. A well-matched pot and mix make routine watering easier to judge.
Select a pot only slightly larger than the current one
Choose a container with enough extra room for roots to spread, rather than jumping to a much larger size. The root ball is a more useful guide than the plant’s canopy, which can be broad even when its roots are compact. If we are only refreshing the mix or trimming roots, we may be able to reuse a pot of similar size. A modest increase helps avoid leaving a large volume of damp mix around a small root system.
Prioritize drainage holes to prevent waterlogged roots
Drainage holes allow excess water to leave the pot, which helps reduce the risk of roots sitting in soggy mix. If we use a decorative outer pot without holes, the plant can remain in a draining nursery pot inside it; we should empty water that collects in the outer container. A saucer can catch drips without blocking the opening. After watering, check that the pot is not standing in runoff.
Match the potting mix to the plant’s needs
There is no single mix that suits every houseplant. We can use the plant’s usual moisture preference to guide the choice and check the mix label for its intended use. These broad cues can help us narrow things down:
- Plants that prefer to dry between waterings generally need a mix that does not stay wet for long.
- Plants that prefer more even moisture need a mix that holds some water while still allowing excess to drain.
- Epiphytes and other plants with specialised root needs may call for a purpose-made mix rather than general houseplant soil.
The label is a starting point, not a watering schedule. After repotting, we should still check the soil and the plant instead of assuming the new mix will behave exactly like the old one.
Decide whether to reuse or replace the existing pot
A pot can be reused if it is the right size and is clean, intact, and has working drainage. Wash away old soil and residue before using it again, especially if the previous plant had pests or root problems. If the pot is cracked, difficult to clean, or lacks drainage and cannot be used as an outer cover, replacing it may be simpler. The familiar pot is fine to keep when it still meets the plant’s needs.
3. Gather supplies and prepare the plant
A little preparation makes the work calmer and reduces the chance of damaging roots while we search for tools. Set out the new or cleaned pot, fresh mix, and a tool for trimming roots if needed. We can also protect the floor or table and decide where the plant will rest afterwards. Before starting, check that the pot is not far larger than the root ball.
Collect a clean pot, fresh mix, and basic tools
Gather the pot, suitable potting mix, a small scoop or container, and clean scissors or pruning snips for any damaged roots. A sheet of paper or a washable tray can make loose soil easier to gather. If the plant has spines or irritating sap, use suitable gloves and avoid touching your face while working. Having everything within reach means we can support the plant instead of leaving its roots exposed while we look for supplies.
Water the plant ahead of repotting if the soil is very dry
Very dry soil can crumble away from the roots and make the root ball harder to handle. If the plant is dry, watering it ahead of time can help the mix hold together; we should let excess water drain before beginning. We do not need to soak a plant whose mix is already damp. The aim is workable soil, not a saturated root ball.
Protect your workspace and handle the plant gently
Place the plant on a protected surface and clear enough room to turn the pot without catching leaves or stems. Hold the root ball or the base of the plant rather than tugging on a stem. For a large or awkward plant, asking someone to steady the pot can make the transfer easier. A slow approach is usually safer than trying to pull the plant free in one strong movement.
Check roots for damage, pests, or disease
Once the plant is out, inspect the roots and the old mix before deciding what to trim. Firm roots are generally worth keeping, while soft or broken sections can be removed with clean scissors. Look for insects, webbing, unusual residue, or a sour smell in the mix. If the root system appears healthy, we can disturb it as little as possible and proceed with the repot.
4. Repot the plant step by step
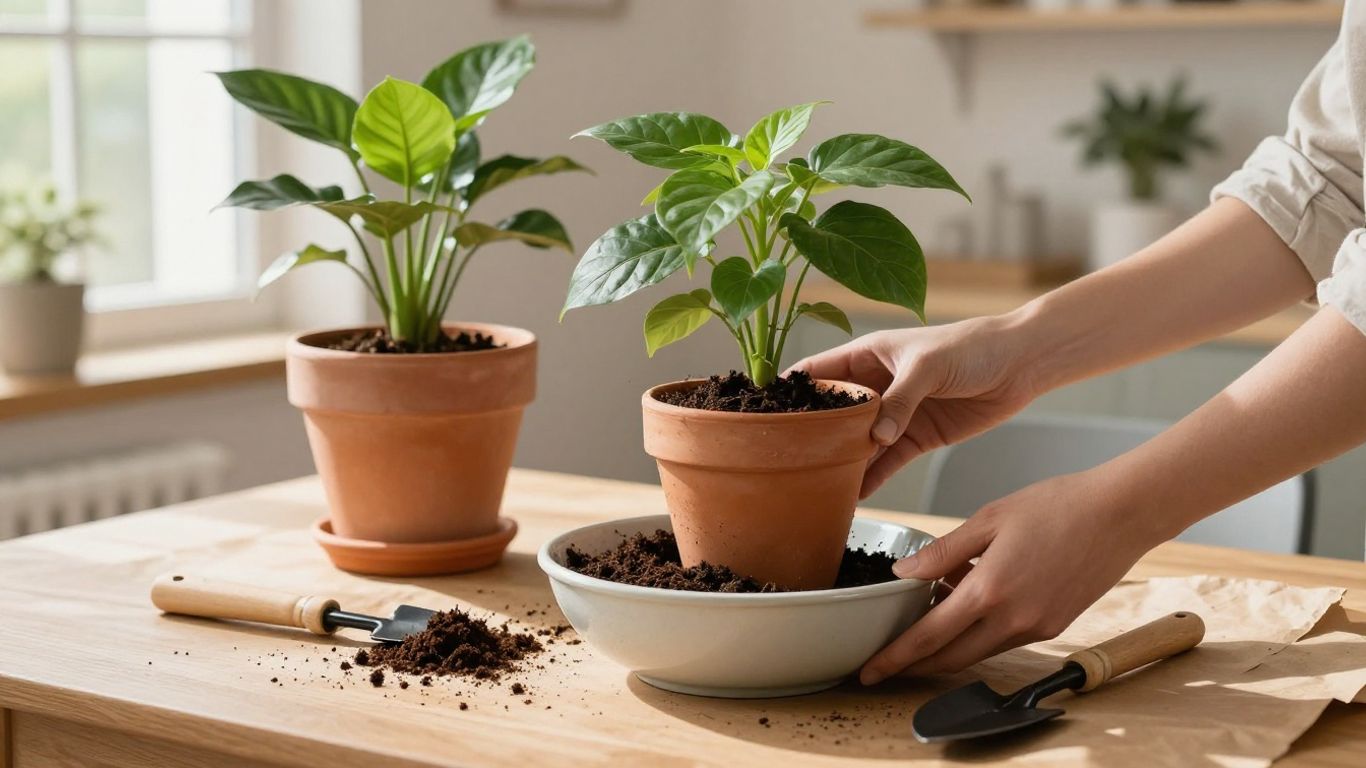
The transfer itself is straightforward when we take our time and keep the plant at its familiar depth. First, make sure the new pot has clear drainage and add enough mix to support the root ball. Then position the plant and fill around it without pressing the soil into a dense mass. The goal is stable contact between roots and mix, not a tightly packed container.
Loosen the plant without pulling on its stem
Tip the pot gently and support the plant near the base as we ease the root ball out. If it is stuck, squeeze a flexible pot or tap around the outside to loosen the soil. We can run a blunt tool around the inner edge if needed, taking care not to cut into the roots. Avoid pulling the plant upward by its stem, which can strain or break it.
Tease apart circling roots and trim damaged sections
If roots are circling tightly around the outside, loosen them gently with our fingers so they can grow into the fresh mix. There is no need to comb through every root or strip away all the old soil. Trim only roots that are clearly dead, mushy, or badly damaged, using clean scissors. Keep healthy roots intact wherever possible; unnecessary cutting adds stress without helping the plant settle.
Set the plant at the same depth as before
Add mix to the new pot so the plant sits at roughly its previous soil line. Keep the crown and stem base above the mix rather than burying them to make the plant feel more secure. Check the height before filling all the way around, since it is easier to adjust the base layer at this stage. A familiar planting depth helps avoid covering parts of the plant that were previously exposed.
Fill around the roots and settle the mix without compacting it
Add fresh mix in small amounts around the root ball, nudging it into open spaces without crushing it down. A light tap on the pot can help the mix settle naturally. Leave a little space at the rim so watering does not spill over, and check that the plant stands upright. The mix should support the roots while remaining loose enough for water to move through it.
5. Care for the plant after repotting
A recently repotted plant may need a little time to adjust, even when the work has gone smoothly. The right aftercare depends on the plant, the potting mix, and how damp the root ball already is. We should avoid making several big changes at once. A steady routine makes it easier to notice whether the plant is settling in.
Water according to the plant’s needs and the mix’s moisture
Do not water automatically just because repotting is finished. If the mix is already moist, wait until it reaches the plant’s usual watering point; if it is dry, water as appropriate for that plant and allow excess to drain. Newly added mix may hold moisture differently from the old soil, so check it rather than following the previous interval by habit. The plant’s normal preference remains the best guide.
Give the plant suitable light while it adjusts
Keep the plant in the kind of light it normally prefers, avoiding a sudden move into intense direct sun if it has been growing in gentler conditions. Good light supports ordinary growth, but changing its location dramatically can add another source of stress. If we moved it to work on the plant, return it to a familiar spot once the pot is settled. Watch the leaves for clues that the location is too bright or too dim.
Wait before fertilizing to avoid stressing new roots
Fresh potting mix may already contain nutrients, depending on the product, and freshly disturbed roots can be sensitive. Check the mix instructions and the plant’s normal feeding needs before adding fertiliser. There is no need to feed immediately as a reflex after repotting. Waiting until the plant has resumed steady growth is a cautious approach, unless the mix or plant guidance says otherwise.
Watch for temporary changes and signs of recovery
A little drooping can happen after roots have been handled, but it should be considered alongside the soil’s moisture and the plant’s general condition. Avoid responding to every leaf change with more water, since overly wet soil can create additional trouble. New growth, firmer stems, or a return to the plant’s usual posture can suggest it is settling. Give it time, while continuing to check for persistent wetness or worsening damage.
6. Avoid common repotting mistakes
Most repotting problems come from doing too much at once: choosing a much larger container, burying the plant, or disturbing roots that were already healthy. We can keep the process simple by matching the pot to the root ball and preserving the plant’s existing growing conditions where possible. Timing matters, too, although houseplants do not all follow the same seasonal rhythm. If a problem appears afterwards, look for its cause before changing the care routine.
Prevent oversized pots and excess soil
A pot that is much larger than the root ball contains more mix than the plant can use quickly. That extra mix may remain damp, so the roots can face conditions they are not used to. Choose a size that gives the roots some room without surrounding them with a large unused volume of soil. If the plant needs a fresh mix but not more space, repotting into a similar-sized container can be enough.
Keep the crown and stem base above the soil
Adding extra mix over the base of a plant can trap moisture against tissues that were previously exposed. Set the plant at its original depth and make sure the mix supports it without covering the crown or stem base. If the plant feels loose, firm the mix lightly around the root ball rather than burying the stem. Check the soil line once more before watering.
Avoid repotting at an unsuitable time
Many houseplants cope best with repotting while they are actively growing, but their needs differ and indoor conditions vary. A plant that is resting or already stressed may not benefit from an unnecessary move. If roots are damaged or the potting mix is staying wet, we may need to act sooner to address the problem rather than waiting for a preferred season. Otherwise, choose a time when we can give the plant a calm, consistent few days afterwards.
Troubleshoot wilting, yellow leaves, and persistent wet soil
Wilting or yellow leaves after repotting can have several causes, so we should check the mix before deciding what to do. Dry soil may call for watering according to the plant’s needs, while soil that remains wet suggests we should pause and check drainage. Persistent wetness, a soft stem base, or a worsening smell can point to root trouble; adding more water or moving into a larger pot will not solve that by itself. Remove fallen leaves, keep the plant’s conditions steady, and reassess its roots if the decline continues.