
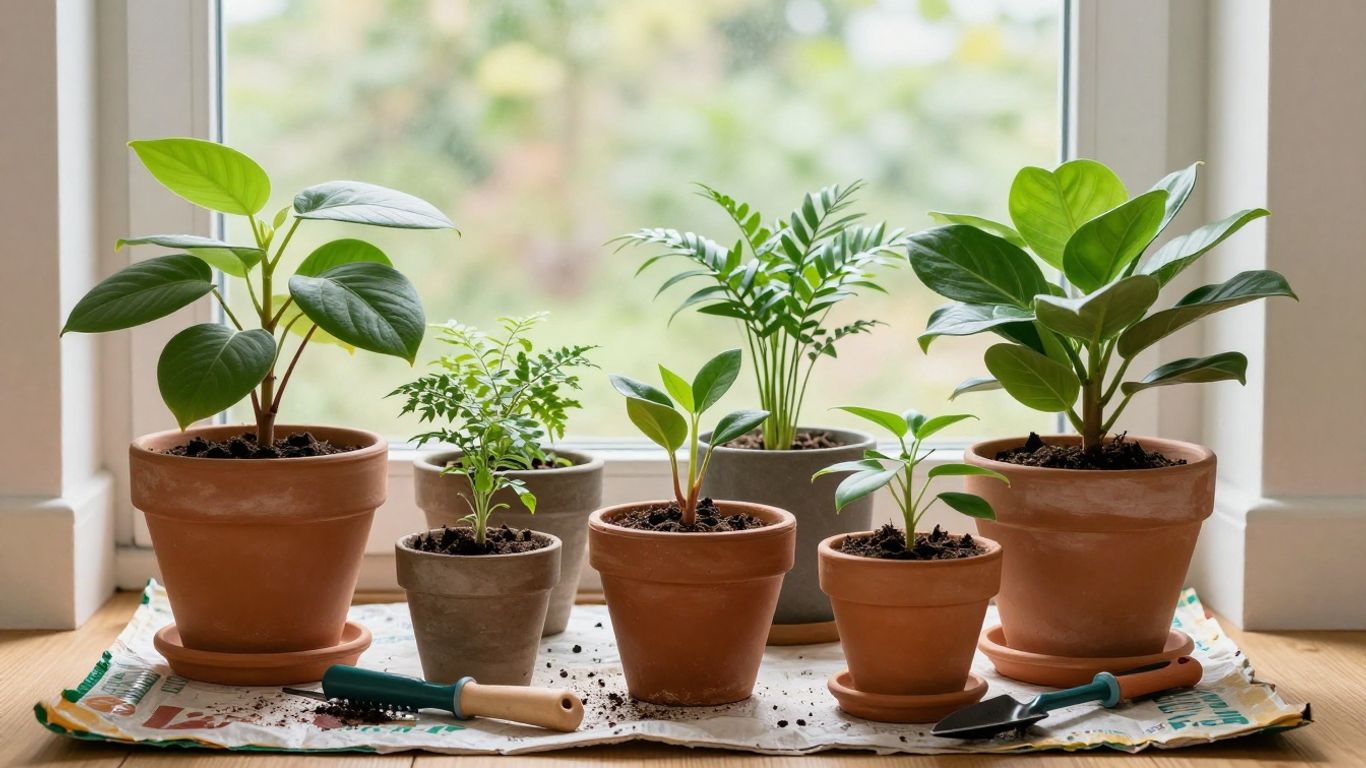
Key Takeaways
Repotting becomes much less intimidating when we treat it as a careful reset rather than a race to move a plant into a larger container.
- Check the roots, soil and overall health before deciding to repot.
- Choose a pot only slightly larger, with a clear drainage hole.
- Use a fresh potting mix suited to the plant rather than ordinary garden soil.
- Handle the root ball gently and keep the plant at its original depth.
- Give the plant time to settle before fertilising or changing its conditions.
Know when a plant needs repotting
A plant does not need a new pot simply because a certain amount of time has passed. We look for several signs together, including crowded roots, unusually fast-drying soil and a decline that cannot be explained by light or watering. This is the first decision in any repotting guide beginners can trust, because a needless move can create stress rather than solve a problem.
Signs of overcrowded roots
When roots fill a container, they may circle tightly around the inside, appear at the drainage hole or rise across the soil surface. The plant may also lift out with a firm, root-shaped mass that holds the potting mix together. A few visible roots are not automatically a crisis, but a dense, circling root ball suggests that the plant has used most of its available space.
Soil that dries out too quickly
If we water thoroughly and the mix becomes dry again far sooner than it used to, the roots may be occupying most of the container. Water can also run straight through a tightly packed root ball instead of spreading evenly through it. Before repotting, we should rule out hotter weather, stronger light and a change in the plant’s position, since those can also increase water use.
Stunted growth and declining plant health
Slow or stalled growth can point to restricted roots, especially during the plant’s usual growing period. Yellowing leaves, wilting despite suitable moisture or a plant that repeatedly tips over may add to the case for repotting. We should still check for pests, poor light and watering problems first, because a new pot will not correct an unrelated cause.
The best season for repotting
For many indoor plants, spring and the start of active growth are comfortable times to repot. Warmer conditions and increasing light give the plant a better chance to establish fresh roots. Indoor temperatures vary, so we can use the plant’s active growth and general condition as guides rather than following a rigid calendar.
When not to repot a stressed plant
We generally postpone repotting when a plant is already struggling with pests, disease, severe dehydration or a sudden change of environment. A recently purchased plant may benefit from time to settle before we disturb its roots, unless there is an urgent drainage or health problem. Waiting allows us to identify the real issue and prevents one stressful event from becoming two.
Choose the right pot and potting mix
The new container and its mix affect how much air and moisture reach the roots. We do not need an elaborate setup, but we do need a sensible match between the plant, the pot and the conditions in our home. A little preparation here prevents many problems after the move.
Selecting the correct pot size
Choose a container only modestly wider than the existing root ball, rather than jumping to the largest pot available. An oversized container holds more wet mix around a relatively small root system, which can leave roots short of air. We also check that the plant will sit securely and not become top-heavy in its new home.
Why drainage holes matter
A drainage hole gives excess water somewhere to go after we water. Without one, moisture can collect unseen at the bottom of the container, leaving roots in persistently wet conditions. We place the decorative cover pot on a saucer and remove standing water rather than allowing the plant to sit in it.
Matching soil to the plant type
The potting mix should suit the plant’s usual moisture needs. A moisture-retentive mix may suit some leafy tropical plants, while plants that prefer to dry between waterings need a more open, fast-draining blend. We follow the needs of the particular plant and avoid treating every houseplant as though it prefers the same texture.
When to reuse or replace a container
A container can be reused if it is stable, clean and large enough, but we wash it thoroughly first. Cracks, a blocked drainage opening or a lingering smell are good reasons to replace it. Cleaning matters because old soil and debris can carry pests or disease into a fresh planting job.
Choosing between plastic, ceramic, and terracotta pots
Plastic containers are light and tend to retain moisture, while terracotta is porous and can allow the mix to dry more quickly. Glazed ceramic may be attractive and stable, but its weight and drainage design vary. We choose based on the plant’s watering pattern, the light in the room and whether we can safely move the pot when it is full.
Prepare the plant and workspace
A calm setup makes the job easier on both the plant and the person doing it. We gather what we need, protect the floor and make sure the plant is in reasonable condition before starting. There is no prize for rushing through a process that can be prepared in advance.
Tools and supplies to gather
We usually need the new container, fresh potting mix, a small scoop, clean scissors and a watering can. A tray, old towel or sheet of paper helps contain loose soil, while gloves are useful for prickly or irritating plants. Keeping these items close means we can support the root ball instead of leaving it exposed while searching for something.
Watering the plant before repotting
Watering a day or so beforehand can make the root ball easier to handle and reduce the chance that the plant is already dehydrated. The mix should be moist, not saturated or muddy. If the plant is very dry, we first let it take up water rather than combining dehydration with the disturbance of repotting.
Protecting surfaces and managing loose soil
We spread a washable mat, tray or old sheet beneath the work area and keep the fresh mix in a separate container. This gives us room to inspect roots without sweeping soil across the floor. Once the work is finished, we can return unused mix to its bag and clean tools before they are stored.
Inspecting the plant for pests or disease
Before moving the plant, we inspect leaves, stems, leaf joints and the soil surface for insects, webbing, mould or unusual marks. If we find a serious problem, we deal with that first where possible and keep the plant away from others. Repotting can expose the roots, but it is not a substitute for identifying the source of poor health.
Knowing when root pruning is appropriate
Root pruning is sometimes useful when dead or rotting roots need to be removed, but healthy roots should not be cut merely to make them fit a much smaller container. We use clean, sharp scissors and remove only clearly damaged material. If the roots are healthy and the new pot is the right size, loosening them gently is usually enough.
Remove the plant without causing damage
Removing the plant is often the moment beginners dread, but patience makes a greater difference than strength. We support the plant close to the soil line, protect delicate stems and avoid pulling on leaves. If it resists, we work around the container instead of forcing the root ball out.
Loosening the root ball safely
We tilt the pot sideways and ease the plant out while supporting the root ball with our other hand. Tapping the sides or squeezing a flexible plastic pot can help release the edges. A firm tug on the stem is risky because stems can bend or separate before the roots move.
Handling tightly bound roots
When roots circle densely, we tease the outer layer apart with our fingers or make a few shallow vertical openings with a clean tool. We work gradually and stop if the root ball begins to break apart excessively. The aim is to encourage roots into fresh mix, not to strip every strand away.
Removing old soil
We remove only the loose, exhausted mix that falls away easily and leave soil that is holding healthy roots. A gentle shake or careful brushing is usually safer than washing the entire root system. Keeping some of the established mix around the roots can make the transition less abrupt.
Identifying healthy and unhealthy roots
Healthy roots are generally firm and may be pale, tan or dark depending on the plant. Roots that are mushy, hollow, slimy or foul-smelling are more concerning and should be separated from healthy tissue. We trim damaged sections back to firm tissue, cleaning the scissors between cuts when disease or rot is suspected.
Managing fragile stems and leaves
We hold the plant by the root ball or lower stem rather than by the leaves, which tear easily. Large leaves can be loosely gathered out of the way, but we avoid tying them tightly. If a stem is naturally sprawling, we give it room instead of trying to force it upright during the same job.
Repot the plant step by step
Once the plant is out, the actual move is a steady sequence rather than a complicated technique. We check the depth several times because correcting it is easier before the container is full. The finished planting should feel secure while still allowing water and air to move through the mix.
Adding a base layer of fresh soil
We place enough fresh mix in the bottom of the container to raise the root ball to the correct level. The roots should not be pressed against the base, and the stem should not end up buried deeper than it was before. We test the height with the plant sitting in the empty pot before adding more mix.
Positioning the plant at the correct depth
The plant goes in the centre, with its original soil line close to the new soil line. We turn the pot until the best side faces the room and check that the stem is upright. The original soil line matters because burying the stem can encourage moisture-related problems in some plants.
Filling gaps around the root ball
We add fresh mix around the sides in small handfuls, working it into empty spaces without forcing it down. A gentle tap on the pot can help the mix settle naturally. We keep checking that the plant has not shifted or sunk as the container fills.
Firming the soil without compacting it
We press lightly around the root ball to stabilise the plant, but we do not pack the mix into a hard layer. Roots need a balance of moisture and air, and compacted soil can make both watering and drainage less predictable. If the plant wobbles, we add a little more mix and firm the surface gently.
Leaving space for watering
We leave a small gap between the soil surface and the rim so water can soak in without spilling over. This space also makes future watering less messy. The final surface should be level enough for even watering, with no exposed mass of roots unless the plant naturally grows that way.
Care for a newly repotted plant
Repotting ends when the plant is secure, but the adjustment period starts then. We keep its conditions steady and pay attention to the soil rather than following an automatic watering schedule. A quiet few weeks often help more than additional intervention.
Watering immediately after repotting
If the mix is dry, we water slowly until a little drains through the hole, then empty the saucer. This settles the fresh mix around the roots and reveals whether water is moving evenly. If the mix is already adequately moist, we avoid adding more water simply because the plant has been moved.
Choosing the right light and temperature
We return the plant to bright, suitable light without placing it immediately against intense sun or a draughty window. Stable room temperatures are preferable while roots settle. We avoid making several environmental changes at once, since that makes it harder to understand how the plant is responding.
Delaying fertilizer application
Fresh potting mix may already contain nutrients, and newly disturbed roots can be sensitive to concentrated fertiliser. We wait until the plant shows signs of renewed growth and then follow the directions for the chosen product. Adding extra feed straight away is unlikely to make a stressed plant recover faster.
Monitoring for transplant shock
A little drooping or slower growth can occur after repotting, particularly if roots were disturbed. We check moisture, light and temperature before taking further action. Severe wilting, a worsening smell or rapidly declining leaves deserves closer investigation rather than repeated watering.
Knowing when normal growth should resume
Recovery time differs between plants, seasons and the amount of root disturbance. New leaves or firmer stems are encouraging signs that the plant is settling. Until then, we keep care consistent and resist the temptation to repot again or prune healthy growth without a clear reason.
Avoid common repotting mistakes
Most repotting failures come from a few understandable shortcuts. We may choose a pot that looks generous, water too often or try to solve every visible problem in one session. Slowing down helps us separate what the plant needs from what simply feels reassuring.
Moving a plant into an oversized pot
A much larger pot can stay wet for too long because there are more moist mix than the existing roots can use. That creates an uneven environment and may encourage root problems. A modest increase in size is usually easier to manage and gives us a clearer watering routine.
Using garden soil for indoor plants
Garden soil is often too dense for a container indoors and can restrict drainage and air movement. It may also contain weed seeds or unwanted organisms. We use a clean, suitable indoor potting mix instead, selecting its texture according to the plant’s needs.
Covering drainage holes incorrectly
We should not seal a drainage hole or fill the bottom with a thick layer of unrelated material in the hope of improving drainage. The hole needs to remain open, and the potting mix should do the work of holding moisture while allowing excess water to leave. A saucer or tray can catch the runoff without blocking the container.
Repotting too frequently
Repeatedly disturbing a plant without a clear reason can slow its adjustment and make its care difficult to read. We wait for evidence such as crowded roots, degraded mix or a genuine container problem. If the plant is healthy and growing well, leaving it alone is often the better choice.
Ignoring signs of root rot
Mushy roots, a persistent sour smell and soil that stays wet for an unusually long time should not be dismissed. We remove the plant, inspect the roots and address the cause, such as poor drainage or excessive watering. If only part of the root system is affected, careful trimming and fresh, airy mix may give the plant a chance to recover; otherwise, we seek advice specific to that plant.