
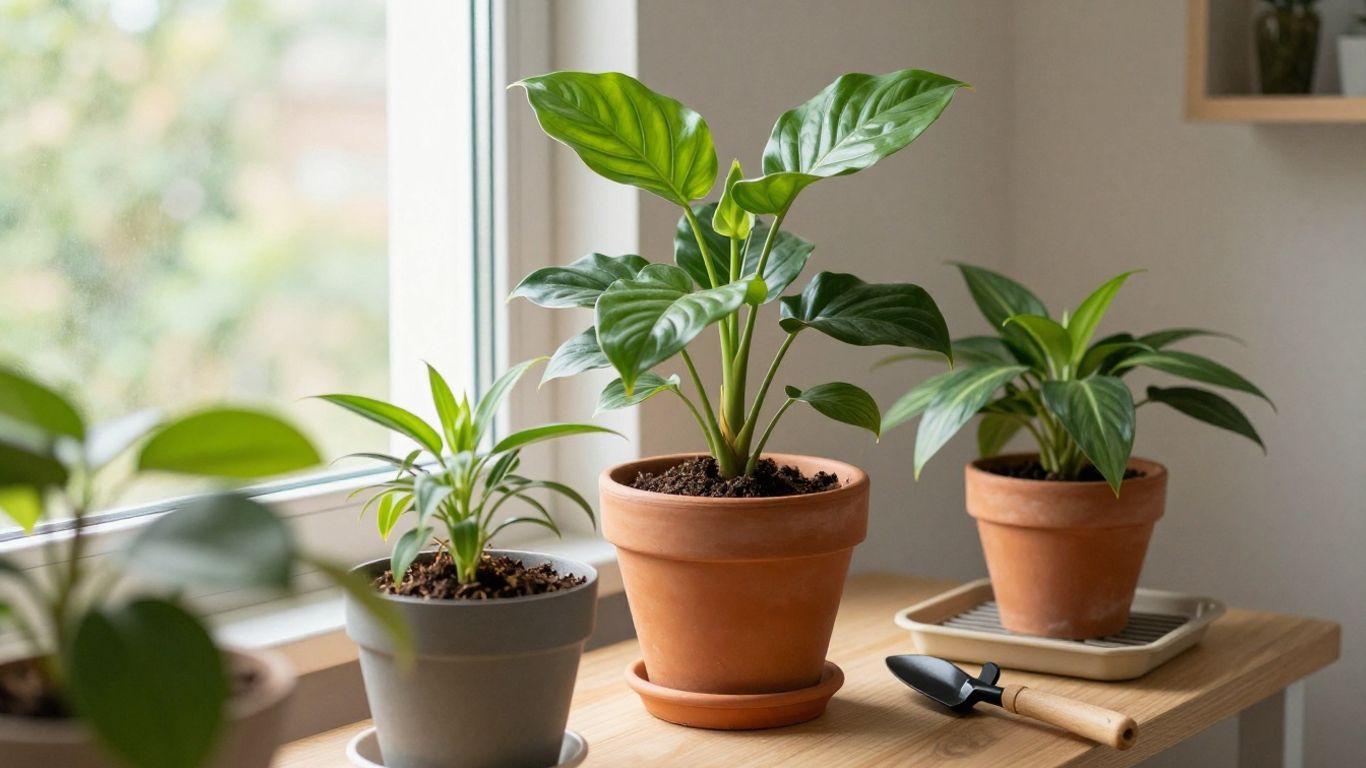
Key Takeaways
Repotting is less about giving every plant a larger pot and more about checking whether its roots, soil and growing conditions still suit it. We can make the process gentler by preparing first and changing only what needs changing.
- Check for crowded roots, poor soil and drainage problems before repotting.
- Choose a container only slightly larger, with a reliable drainage hole.
- Match the potting mix to the plant rather than using one mix for everything.
- Handle roots carefully and keep the plant at its original depth.
- Give the plant steady care afterwards, but wait before fertilising.
Know when a plant needs repotting
A plant does not need a new pot simply because it has been in the same one for a while. We look at the roots, the condition of the potting mix and the plant’s recent growth before deciding. Some plants prefer a snug container, while others quickly fill their available space. A careful check helps us avoid disturbing a plant that is otherwise doing well.
Signs of a root-bound plant
A root-bound plant has more roots than its container and potting mix can comfortably support. Roots may circle tightly around the outside of the root ball, emerge from the drainage hole or push the plant upwards. We may also notice that water runs straight through, the plant dries unusually quickly, or new growth becomes smaller and slower.
We can confirm the problem by easing the plant from its pot and looking at the root ball. A few visible roots are not automatically a concern; a dense, tangled mass with very little loose mix is a stronger sign that the plant needs more room.
When soil quality is causing problems
Roots can struggle even when the pot is not crowded. Old mix may have broken down into a dense layer that stays wet, while repeated watering can wash nutrients away or leave pale mineral deposits on the surface. If water sits on top, drains very slowly or leaves the plant wilting despite damp soil, the mix deserves attention.
Repotting can be as simple as replacing tired soil with fresh mix in the same container. We should still inspect the roots first, because changing containers will not solve a problem caused by poor light, unsuitable watering or damage below the soil.
The best season for repotting
For most indoor plants, the beginning of active growth is the easiest time to repot. In many Australian homes that means spring, although conditions vary with the plant and the room. Warmer temperatures and brighter light can help a plant recover from the disturbance.
We can repot outside the usual season when there is a clear problem, but we should expect slower recovery during cooler, darker months. Plants that are resting need less water and may not quickly replace damaged roots.
Situations that call for immediate action
Some problems should not wait for the ideal season. A pot with no usable drainage, persistently waterlogged mix, rotting roots, pest-affected soil or a cracked container can put the plant under continuing stress. In these cases, our goal is to remove the source of the problem rather than create a perfect-looking display.
We work gently and accept that some leaves may yellow or growth may pause afterwards. If the plant is already severely wilted, freshly moved, or recovering from another problem, we first address the urgent cause and avoid unnecessary changes.
Choose the right pot and potting mix
The new container and mix shape what happens after repotting. A handsome pot can still cause trouble if it is much too large or lacks drainage. We choose based on the plant’s root system, its watering needs and the space available indoors. This is one of the simplest places to prevent later problems.
Selecting the correct pot size
Usually, we move up only modestly from the current container. The new pot should leave enough room for fresh roots without surrounding the existing root ball with a large volume of wet mix. An oversized pot can stay damp for too long, especially in a cool room or with a slow-growing plant.
If the roots are healthy and there is still room, we can refresh the mix without increasing the pot size. A heavier plant may also need a wider or more stable container rather than a much deeper one.
Comparing drainage holes and containers
A drainage hole gives excess water somewhere to go, which makes watering easier to judge. We can use a nursery pot inside a decorative cover pot, but we need to empty the cover pot after watering rather than allowing the inner pot to sit in collected water.
Terracotta dries more quickly and can be useful for plants that dislike prolonged moisture. Plastic and glazed containers retain moisture for longer. Neither is automatically better; the material should suit our watering habits, the plant and the light in its position.
Matching soil to the plant type
Potting mix needs to hold some moisture while leaving air around the roots. Foliage plants generally need a light, open mix, while succulents and cacti need faster drainage. Orchids and other plants with specialised roots may require a coarse, airy medium rather than ordinary potting soil.
We check the label and avoid treating garden soil as a universal indoor mix. A useful starting point is to consider what the plant experiences naturally: steady moisture, rapid drainage, coarse material or a combination of these.
When to reuse or replace a pot
We can reuse a pot if it is sound, appropriately sized and clean. Washing away old soil helps us inspect the container and reduces the chance of carrying old pests or disease into fresh mix. A soft brush or warm soapy water is usually enough, followed by a thorough rinse and drying.
Replace a pot when its drainage is blocked, its surface is flaking, it has sharp cracks or it no longer supports the plant safely. We should also discard old mix rather than mixing it into fresh media when roots were rotting or pests were present.
Prepare the plant and workspace
A calm setup makes repotting safer for both the plant and us. We gather everything before disturbing the roots, cover the work surface and make room for spilled mix. The plant should not sit with exposed roots while we search for scissors or a suitable pot. A few minutes of preparation often prevents rushed handling.
Gathering essential tools and materials
We need the clean container, suitable potting mix, a small scoop, a blunt tool for loosening edges and clean scissors or secateurs for damaged roots. A tray, old newspaper or a washable mat keeps the work area manageable. We also keep water nearby, but do not automatically wet the plant before starting.
It helps to have a waste bag for old soil and a cloth for wiping the pot. If several plants are being repotted, we clean cutting tools between plants so we do not carry problems from one root ball to another.
Inspecting roots before repotting
Once the plant is out, we look at the roots before deciding how much to change. Healthy roots may be pale, tan or naturally darker depending on the species, but they should generally feel firm. Mushy, hollow or foul-smelling roots suggest decay and need different handling from dry, tightly packed roots.
We do not pull apart every root simply to make the ball look tidy. The aim is to create a little space for fresh mix while preserving as much healthy root tissue as possible.
Managing dry, compacted, or wet soil
Very dry mix can shrink from the sides of the container and make the plant difficult to remove. We can loosen the edges and, if the plant tolerates it, lightly moisten the mix beforehand. Very wet mix is heavier and more fragile, so we allow excess water to drain and handle the root ball with extra support.
Compacted soil should be loosened gradually with our fingers or a blunt tool. We avoid forcing tools deep into the centre, where they may slice through healthy roots.
Protecting surfaces and reducing plant stress
We keep the plant out of harsh sun, strong draughts and extreme indoor temperatures while we work. Leaves and stems should rest on a clean surface rather than directly on spilled mix. For tall plants, we can ask another person to steady the foliage while we support the pot and root ball.
Our first-person experience with apartment plants has taught us that speed is less useful than steadiness. Gentle handling matters most when the roots are exposed, so we pause if the plant begins to tip or the root ball starts to crumble.
Follow the repotting process step by step
Repotting becomes less intimidating when we treat it as a sequence rather than one dramatic move. We remove the plant, assess the roots, position it and add mix in stages. The new container should support the existing plant, not bury or stretch it. We keep checking the height as we work.
Removing the plant from its current pot
First, we loosen the mix around the inner edge of the pot. We support the plant near the base, never pulling hard on leaves or stems, and tilt the container so gravity can help. Tapping the sides or squeezing a flexible nursery pot may release the root ball.
If roots are holding the plant in place through the drainage hole, we free them carefully rather than yanking the plant upwards. A stuck plant may need patience, not more force.
Loosening and trimming damaged roots
We tease away only the loose outer mix and gently separate roots that are circling tightly. A small amount of root trimming can remove roots that are clearly dead, mushy or broken. Clean, sharp scissors make a cleaner cut than blunt blades.
Healthy roots stay in place. We avoid aggressive pruning because the plant needs its remaining roots to absorb water while it settles into the new container.
Positioning the plant at the correct depth
We add a little fresh mix to the bottom, then place the root ball in the centre. The top of the existing root ball should sit at roughly the same level as before, unless the plant’s care guidance says otherwise. Burying the stem or crown can create moisture problems, while leaving roots exposed can dry them out.
Before filling, we check the view from all sides. For a top-heavy plant, a centred position and stable base matter more than making the container look completely full.
Filling the container without compacting the soil
We add mix around the sides in small amounts, gently tapping the pot to settle it. We use our fingers to guide mix into gaps but do not press it down hard. The roots need air spaces, and heavily compressed mix can make later watering difficult.
A short checklist helps us keep the final steps consistent:
- Keep the plant upright and centred.
- Leave a small space below the rim for watering.
- Cover the roots without burying the stem or crown.
- Check that the drainage hole remains clear.
After filling, we inspect the surface and lightly settle only the loose areas. The plant should feel secure without the mix becoming dense and hard.
Water and care for the newly repotted plant
Repotting changes the balance between roots, soil and water, so the first few weeks call for observation. We do not try to compensate for root disturbance with constant watering or fertiliser. Instead, we keep conditions steady and watch how quickly the new mix dries. Small adjustments are safer than dramatic ones.
Knowing when and how much to water
Whether we water immediately depends on the plant, the condition of the roots and how damp the fresh mix is. If the plant is a typical foliage plant and the mix is dry, we water slowly until a little drains from the bottom, then empty any outer pot. If the roots were damaged or the plant prefers very dry conditions, we follow its usual moisture needs rather than adding water automatically.
We check the mix before watering again. The surface alone may not tell us what is happening deeper in the pot, so we use a finger, a wooden skewer or the weight of the container as clues.
Placing the plant in suitable light
A newly repotted plant usually benefits from bright, indirect light while it settles. We avoid moving it straight into harsh afternoon sun, which can add leaf stress when the roots are not yet functioning at full strength. At the same time, a very dark corner may slow recovery.
We return the plant to a position with conditions it already knows where possible. Sudden changes in light, temperature and watering at once make it harder to identify what is causing a setback.
Adjusting humidity and temperature
Stable warmth and moderate humidity can help many indoor plants recover, but we do not need to create a steamy environment. We keep the plant away from heaters, cold draughts and direct blasts from air conditioning. Grouping plants can modestly change the local humidity, provided air can still move around the leaves.
Misting is not a substitute for suitable watering or ventilation. We watch for leaves staying wet for long periods and make the environment less crowded if that becomes a problem.
Waiting before fertilizing
Fresh potting mix may already contain nutrients, and newly disturbed roots can be sensitive. We generally wait until the plant shows signs of settling and new growth before returning to its normal fertilising routine. The exact timing depends on the mix, plant and season.
Fertiliser cannot repair damaged roots, poor drainage or unsuitable light. We deal with those basics first, then use a product according to its label rather than adding extra in the hope of speeding recovery.
Avoid common beginner repotting mistakes
Most repotting failures come from a well-meant change that is too large. We may use too much water, choose a pot for the plant’s future size or disturb roots that were functioning perfectly. Slowing down gives us time to distinguish a real problem from normal post-repotting adjustment. A few imperfect leaves do not always mean the process has failed.
Choosing a container that is too large
A large container can look like room for growth, but it also holds more wet mix around a relatively small root ball. That moisture may remain for too long and make the roots vulnerable. We choose the smallest practical increase and focus on good drainage.
If a plant needs support, we can use a stable outer cover or stake rather than solving a balance problem with a much larger pot. The container should suit the current root system.
Overwatering after repotting
It is tempting to water repeatedly because the plant has been disturbed. In reality, damaged or reduced roots may use less water while they recover. We check the mix and the plant’s normal requirements instead of following a fixed schedule.
Drainage water should be allowed to leave the container freely. A saucer is useful for protecting surfaces, but it should not become a hidden reservoir beneath the pot.
Damaging healthy roots
Roots are not packaging to be stripped away. Pulling apart a firm root ball, cutting every circling root or using a sharp tool deep in the mix can remove functioning tissue. We loosen only what is necessary and trim only roots that are clearly damaged.
If the root ball will not open easily, we can leave some of it intact. Fresh mix around the outside is often enough to give the plant a gentler transition.
Repotting a stressed or flowering plant
A plant that is flowering, newly purchased, pest-affected or already struggling may not need another major change immediately. We first check whether the container is creating an urgent problem. If it is not, allowing the plant to settle can be kinder than repotting for appearance.
When repotting cannot wait, we keep the new container modest, protect the root ball and avoid adding other changes at the same time. Recovery is easier to read when we change one major condition rather than several.
Adapt the method for different houseplants
The basic process stays familiar, but different plants handle moisture and root disturbance differently. We adjust the container, mix and aftercare rather than applying one apartment-jungle formula to every pot. Looking at the roots and reading the plant’s natural preferences gives us a better starting point. The safest technique is usually the least disruptive one that solves the actual problem.
Repotting succulents and cacti
Succulents and cacti generally need a free-draining mix and a container that does not remain wet for long. Their roots can be fine and easily damaged, while their stems may be prickly or prone to bruising. We handle them with folded paper, gloves or tongs designed for the plant, without squeezing the body.
After repotting, we avoid treating them like thirsty foliage plants. We allow the mix and the plant’s condition to guide watering, and we keep the container in suitable light without exposing a recently disturbed plant to an abrupt extreme.
Handling tropical foliage plants
Tropical foliage plants often appreciate a light, airy mix that retains some moisture. Their broad leaves can lose water quickly, so we support the stem and root ball carefully and protect them from hot sun or cold air after the move.
We check the new pot more often at first because fresh mix may dry differently from the old one. Consistent light and a stable position usually help more than frequent handling.
Caring for orchids and plants with special roots
Orchids and plants with specialised roots should not automatically be planted in ordinary potting mix. Their roots may need exposure to air and a coarse medium, and some roots naturally sit partly above the growing material. We preserve healthy roots and keep the crown at the correct height.
When we are unsure, we identify the plant before repotting and follow guidance for that type. Forcing a special-root plant into a dense, moisture-holding mix can create a problem that the new container cannot fix.
Managing seedlings and small plants
Seedlings and small plants have limited root systems, so a large pot can hold too much moisture around them. We use a small container with drainage and handle the stem by the leaves or root ball rather than pinching the delicate stalk.
Small plants may need gradual pot changes as they grow. We check that the mix is not collapsing around the roots, provide suitable light and avoid fertilising until the plant is actively growing and established.