
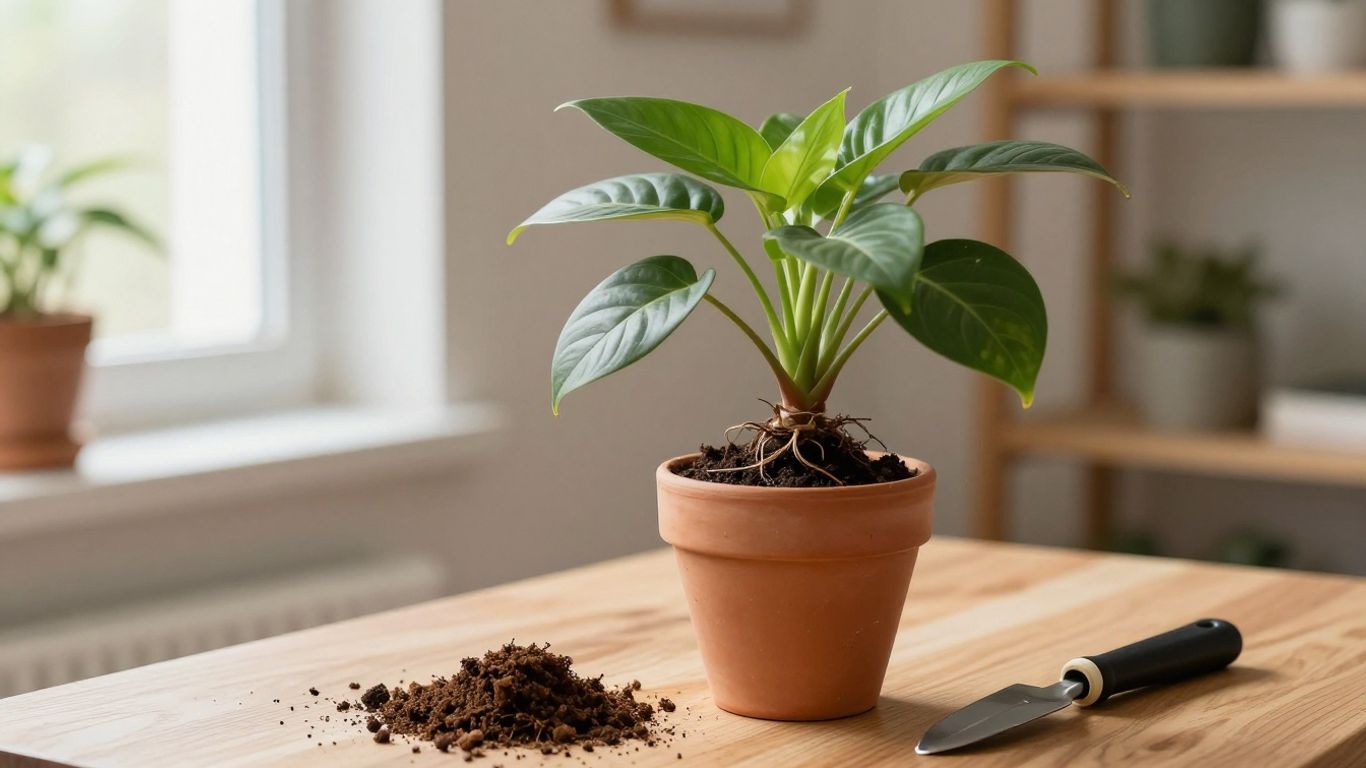
Key Takeaways
Repotting becomes much easier when we treat it as a careful check of the plant’s roots, soil and growing conditions rather than an automatic move into a much larger pot.
- Check for crowded roots, tired soil and poor drainage before repotting.
- Choose a container only slightly larger than the current one.
- Use a potting mix suited to the plant and its moisture needs.
- Handle the root ball gently and keep the plant at its original depth.
- Give the plant stable light, careful watering and time to recover.
Understand when a plant needs repotting
Repotting is not always required on a fixed schedule. We look for changes in the roots, soil and plant’s behaviour, then decide whether a fresh container will genuinely help. This approach keeps the process calmer and avoids disturbing a plant that is already growing well.
Signs of crowded or circling roots
Roots appearing through the drainage holes are a clear clue, but they are not the only one. A plant may also become top-heavy, dry out unusually quickly or lift from its pot as a tight mass when we ease it out. Inside the root ball, dense roots circling the outside suggest that the plant has little room left to explore.
We do not need to untangle every root. The aim is simply to confirm whether the roots are densely packed and whether the current container is restricting healthy growth.
How soil condition reveals repotting needs
Old potting mix can shrink, shed water unevenly or develop a crust of mineral residue around the surface and rim. If water runs straight through the pot, or if the mix stays wet for far too long, the problem may be the soil structure rather than the pot size. A plant with slowed growth can also benefit from a fresh mix when its roots are otherwise healthy.
We assess the soil alongside the roots. Refreshing the mix without unnecessarily increasing the container can be a sensible form of repotting for a plant that still has adequate root space.
Choosing the right season for the job
For many indoor plants, the active growing period is the gentlest time to repot because the plant can begin producing new roots afterwards. In Australian homes, that often means spring or early summer, although indoor temperature, light and the plant’s type also matter. A consistently warm, bright room may support repotting outside that window.
A seasonal choice is helpful, not absolute. If a pot is broken, drainage has failed or roots are suffering, we deal with the problem rather than waiting for a particular month.
When not to repot a stressed plant
A plant that is wilting from missed watering, scorched by harsh light or recovering from pests already has work to do. Repotting at the same time can add another disturbance, especially if the roots are fragile. We first correct the obvious environmental problem and allow the plant to settle where possible.
There are exceptions when the existing soil is waterlogged or the roots are clearly rotting. In that case, careful removal and inspection may be necessary, but we keep the intervention focused rather than changing everything at once.
Choose the right pot and potting mix
The new container and mix shape what happens after repotting. We want enough room for gradual growth, reliable drainage and a texture that holds moisture without leaving the roots constantly saturated. A beautiful pot is useful only when it also supports those basic conditions.
Selecting a pot size that supports healthy growth
A new pot should usually be only a little wider than the current root ball, rather than dramatically larger. Excess space can hold wet mix around roots that have not yet filled the container, increasing the chance of problems. We compare the root mass with the pot, not the height of the leaves.
A modest increase gives the plant room to grow while keeping watering more predictable. If the roots are healthy and the present pot is stable, we may simply replace the old mix and use the same size container.
Comparing drainage holes and container materials
Drainage holes give excess water a route out, which is especially useful for indoor plants in decorative cachepots. Terracotta can dry more quickly, while plastic tends to retain moisture for longer; neither is automatically right or wrong. We choose according to the plant’s needs, the room’s conditions and how often we can check the soil.
If a decorative container has no hole, we use it as an outer cover for a smaller pot with drainage. We empty any collected water rather than allowing the inner pot to sit in it.
Matching potting mix to the plant type
A general indoor potting mix can suit many foliage plants, but plants with different moisture preferences may need a different texture. Plants that dislike wet roots generally benefit from a mix with more aeration and drainage, while thirstier plants may tolerate a mix that holds moisture a little longer. We read the plant’s care needs and examine how quickly its current mix dries.
The mix should be fresh, open and easy to wet. A breathable root environment matters more than choosing a complicated recipe with many ingredients.
Reusing containers safely and responsibly
Reusing a pot saves space and materials, but it should not carry old disease, pests or a heavy coating of residue into the next plant. We empty the container, scrub away remaining soil and rinse it well. If it has a drainage hole, we check that it is clear before using it again.
We also inspect the pot for cracks or sharp edges that could damage roots. A clean, sound container is usually more valuable than a brand-new one chosen only for appearance.
Prepare your plant and workspace
A little preparation prevents hurried handling once the plant is out of its pot. We gather supplies, protect the surface and make enough room to inspect the roots properly. Repotting is easier when the plant is supported rather than treated like a quick rearrangement.
Gathering essential tools and supplies
We prepare the new pot, suitable potting mix, a small scoop, clean snips and a container for old soil. A soft cloth or sheet of paper helps contain the mess, while a plant label can be useful if several plants are being repotted together. For larger plants, another person can provide steady support.
Clean tools are particularly helpful if we need to remove damaged roots. We keep everything within reach so we are not carrying a loose root ball across the room.
Watering the plant before repotting
If the soil is completely dry, watering a little before repotting can make the root ball less brittle and easier to handle. We avoid soaking it immediately before the job, because heavy, wet soil is more likely to collapse or smear around the roots. The goal is lightly workable moisture.
The plant should also have had time to drain. That gives us a firmer root ball and reduces the chance of spilling water across the workspace while we work.
Protecting surfaces and organizing the work area
We move the plant to a stable table with good light and cover the surface with paper, a tray or a washable cloth. The new pot sits beside the old one, with the mix and tools arranged in the order we expect to use them. This small layout makes it easier to keep one hand supporting the plant.
We leave room for the plant’s leaves and stems, not just the pot. Crowded benches encourage accidental knocks, especially when a trailing or top-heavy plant is involved.
Handling delicate stems, leaves, and roots
We lift the plant by its root ball or container, never by pulling on the stem or leaves. Brittle stems can crease without immediately showing damage, and fine roots can tear when the plant is forced free. Supporting the base while tilting the pot usually gives us better control.
If the plant resists, we pause and change our approach. Squeezing a flexible pot, tapping a rigid container or easing a blunt tool around the inside edge is safer than tugging harder.
Follow the repotting process step by step
Once the workspace is ready, we can follow a steady sequence. The process is less about speed than about preserving healthy roots, checking the plant’s position and leaving enough room for watering. We keep the plant nearby until the new container is secure.
Removing the plant without damaging the root ball
We tilt the pot slightly, support the soil around the plant’s base and let gravity do some of the work. A flexible nursery pot can be gently squeezed, while a rigid pot may need light tapping around its sides. If roots are caught at the drainage hole, we ease them free rather than pulling the plant upwards.
When the root ball comes out, we place it on the protected surface and keep it out of direct sun. A short pause lets us see the condition of the roots before disturbing them further.
Loosening roots and inspecting for problems
We brush away a little loose soil and look for roots that are firm and pale compared with roots that are dark, soft or unpleasantly wet. Circling roots can be teased apart gently with our fingers, particularly around the outer edge. We remove only roots that are clearly damaged, using clean snips.
There is no benefit in aggressively breaking apart a healthy root ball. A light loosening helps new roots move into fresh mix while preserving as much of the existing structure as possible.
Positioning the plant at the correct soil depth
Before adding much mix, we place the plant in the new pot to test its height. The top of the root ball should sit near its previous soil level, with the stem base kept above the mix rather than buried. We add or remove a little mix underneath until the position feels stable.
Leaving some space below the rim gives water somewhere to collect briefly without spilling over. We check the plant from several sides so it is upright and not leaning into the pot wall.
Filling the container and settling the soil
We add mix around the root ball in small amounts, gently working it into open spaces with our fingers or by tapping the pot lightly. We do not pack it down hard, because compressed mix can reduce air pockets and make watering uneven. The surface should be level enough to support the plant without covering its stem.
After filling, we check that the plant is steady and that the drainage hole remains clear. This final inspection catches small positioning problems before water makes the soil heavier.
Help the plant recover after repotting
Repotting changes the plant’s root environment, so the first few weeks are about stability rather than rapid growth. We keep conditions familiar where possible and watch the soil instead of following a rigid watering timetable. A quiet recovery period is normal for many houseplants.
Watering immediately after the transplant
If the mix is dry, we water slowly after repotting so it settles around the roots. We let excess water drain fully and empty any outer container afterwards. If the mix was already damp, we may wait rather than adding more moisture simply because the repotting is finished.
The next watering depends on the plant and the room. We check the mix and the plant’s usual cues, remembering that a fresh, larger volume of soil can take longer to dry.
Placing the plant in suitable light and humidity
We return the plant to bright, suitable light but avoid sudden harsh sun while it adjusts. A stable position away from hot glass, strong draughts and heating vents is usually kinder than frequent moving. Ordinary household humidity is often adequate if the plant is otherwise well matched to the room.
We resist the temptation to compensate with constant misting or relocation. Consistency gives us a clearer sense of whether the plant is recovering normally.
Recognizing normal transplant shock
A little drooping, slower growth or an occasional older leaf yellowing can occur after roots have been disturbed. We watch the overall direction rather than reacting to one change immediately. If stems remain firm and the plant gradually steadies, patience may be all it needs.
Worsening softness, a sour smell from the mix or persistently wet soil deserves closer inspection. Those signs point to a watering or root problem rather than ordinary adjustment.
Knowing when to resume fertilizing
Fresh potting mix may already contain nutrients, and recently disturbed roots can be sensitive to strong feeding. We usually wait until the plant shows renewed, stable growth before returning to its normal fertilising routine. The correct timing depends on the mix, plant and season.
When we do resume, we follow the fertiliser label and avoid treating a stressed plant with extra feed. More product cannot make damaged roots recover faster.
Avoid common beginner repotting mistakes
Most repotting failures come from doing too much rather than too little. We can prevent many of them by keeping the new pot proportionate, using appropriate mix and allowing the plant’s moisture needs to guide us. The following habits are worth checking before we finish.
Using a container that is too large
A large pot can look like a generous upgrade, but its extra soil may remain wet around a relatively small root system. It can also make the plant unstable and obscure whether we are watering too often. We choose the next practical size, not the biggest container that fits the plant.
If the plant is still small, a decorative outer pot can provide the desired appearance without surrounding the roots with unnecessary wet mix.
Choosing garden soil for indoor plants
Garden soil is generally too dense and variable for most indoor containers. It can drain poorly, compact around roots and bring unwanted organisms indoors. A purpose-made potting mix is easier to manage because it is intended for container growing.
We also avoid adding a thick layer of loose material at the bottom as a substitute for a drainage hole. The container’s actual drainage and the mix’s texture do the useful work.
Compressing the soil too tightly
Firming the mix enough to hold the plant upright is sensible; stamping it down is not. Excess pressure removes air spaces and can leave water moving unevenly through the pot. We settle the mix with gentle fingers and light taps instead.
A plant that shifts slightly at first can often be supported by adding a little more mix around the root ball. We do not need to turn the container into a solid block.
Overwatering after the plant is repotted
Fresh mix and a larger container can change the drying pattern, so our old watering schedule may no longer fit. We check the soil before watering, consider the plant’s usual preference and allow excess water to drain. Repeatedly watering to ease our own worry is a common way to create trouble.
The best repotting result is not dramatic. It is a plant sitting securely in an appropriate pot, with roots that have room to breathe and care that remains steady while new growth returns.